April 2

Photo Series 2-Blind: Water Balloon Dynamics

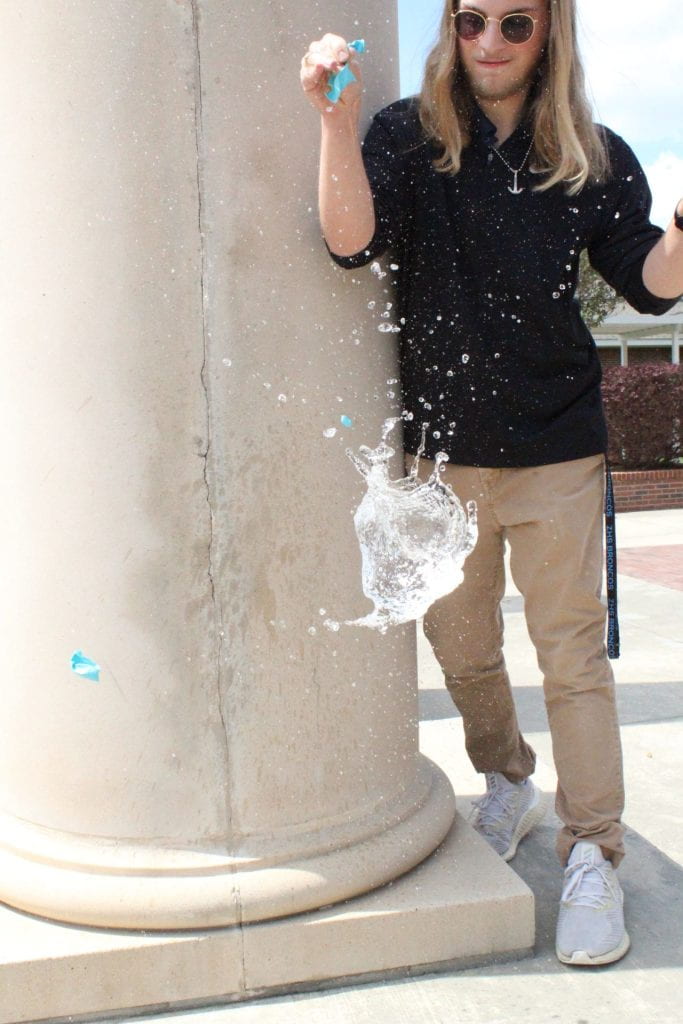
Hello guys! My name is Paige, and I want to introduce probably the most fun lab we’ve done all year long and how shutter speed can affect what kind of content you capture.

These three photographs showcase our water balloon lab, capturing balloons bursting with a high shutter speed, which got the balloon in motion as it popped. The best shutter speed I could use was 1/4000, though I highly recommend using 1/8000 if possible. 1/4000 got one good photo per balloon. My approach definitely varied with this project and the paper structure project, as I had to have my shutter speed boosted for the balloons, while I had my ISO mostly boosted during the paper structure project as I wanted good lighting and to see the contrast between shadows and light. I’d say the most problematic thing while capturing fast motion is timing, especially if you have a lower shutter speed. Even if your shutter speed is the highest it will go, it’s always important to have good timing, even if it means starting to shoot early while you’re taking multiple photos at a time. Thanks for tuning in and seeing how I did this project!

April 1

Photo Series 2-Blindfolded Test

Hey everyone! My name is Paige and this is my Blindfolded project, where I had to take photos completely without my sense of sight.

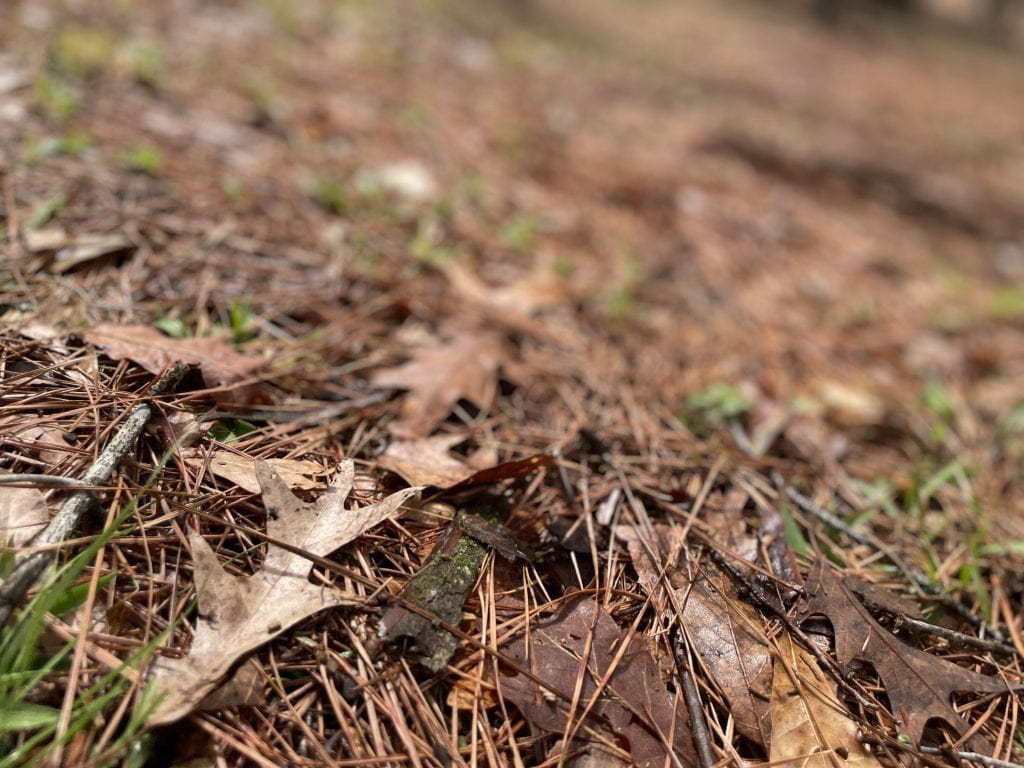
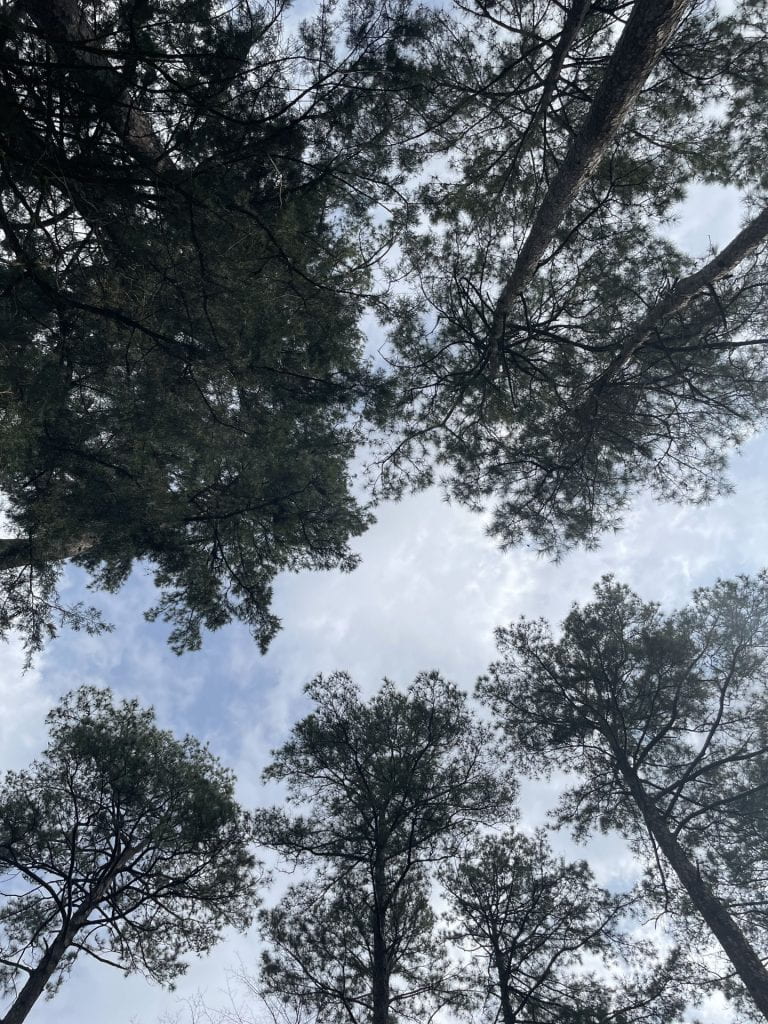
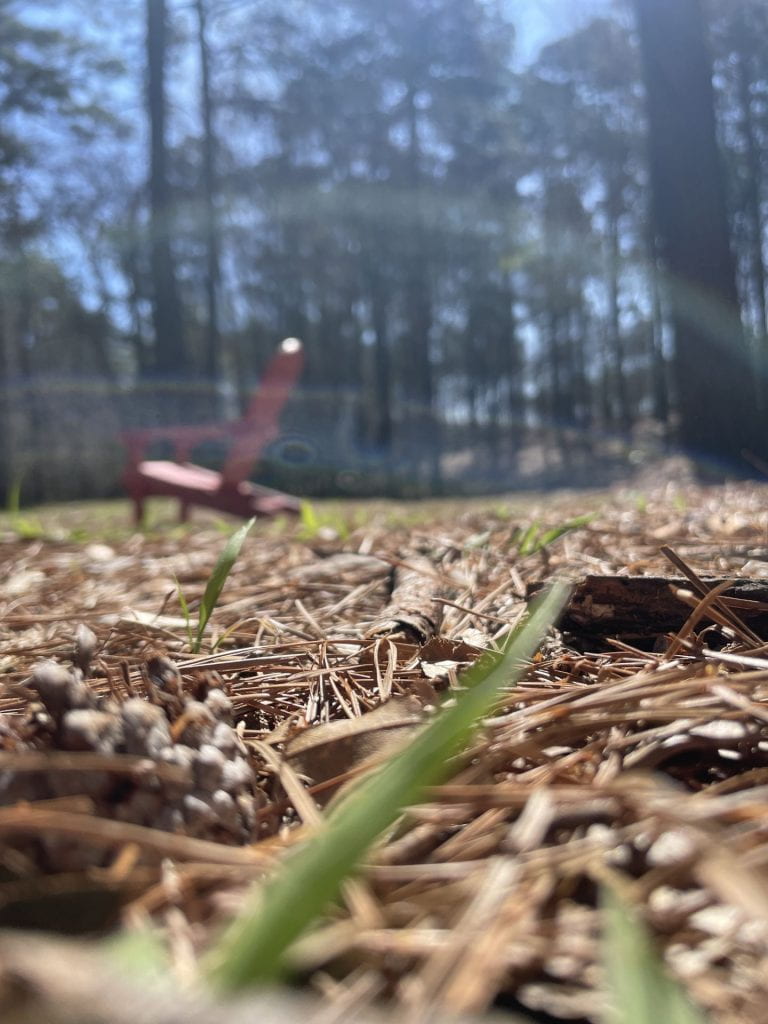
For this project, it required me to be completely blind and take photographs while blind. This was somewhat challenging for me, as I definitely don’t trust my other senses to not ram me into the nearest wall.

These three photos are from the home part of the project, where I was actually at my cousin’s house taking these photographs. For the top left photo, I actually fell down a hill but got up and decided to take a ton of photos. That was the best one I got. For the top right, I looked straight up, kind of breaking my neck. For the bottom photo, I felt the familiar chair nearby, so I backed up and tried to take a photo of it and the nearby atmosphere. I mostly followed my sense of touch, so I felt the ground beneath me and the chair to get the photos I did. This definitely pushed my sensory boundaries by making me blindly, haha, click the shutter button.

These photographs were from the lab during class, where we had to navigate and take photos around the front of the school, almost near the road. I followed my sense of hearing during this because I heard people around me and the leaves crunching underneath me and other people. This whole experience changed my approach when photographing by making me think of any possible angle, even if it may be weird. I find that my photos turn out better when I’m pushing my creativity. Thanks for tuning in, this project was a blast, even with the mishaps and trial and error.

April 1

Photo Series 1-Blind: Shadows and Light

Hello everybody! I’m Paige Castleberry, and this is the paper structure project. This required me and the rest of my classmates to cut into paper, make weird shapes and designs, and create interesting-looking shadows with it.

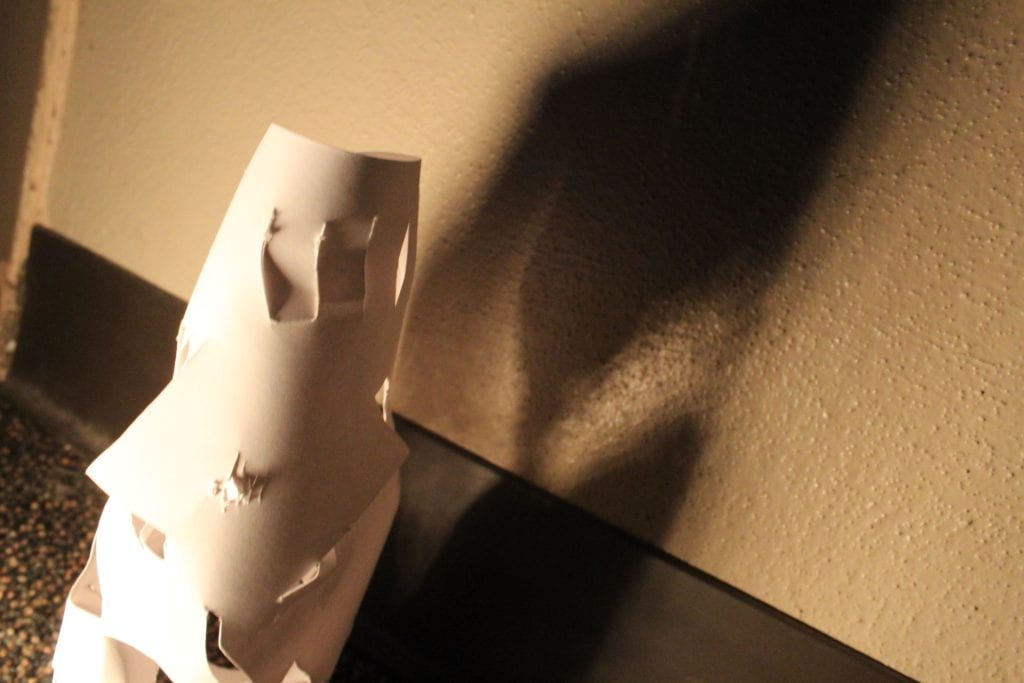
Shadows and light really let me see the different perspectives of what emulating a blind photographer could be like. I created a paper structure by carefully cutting a piece of paper precisely enough to get what I wanted. This took a lot of thinking on my part, trying to figure out how I wanted light to create a picture through the cut paper.


The photo on the right shows a shadow design that kind of reminds me of a dagger that a murderer in a detective film would have. The photo on the right is another shadow that looks like an hourglass, which I love since I love myself as a cute little hourglass.

The choice of paper structure shaped the shadow designs greatly because every little simple cut or even mistake would be visible in the final product, which made me restart my shape a few times. Changing light angles affected the shadow complexity by how the photos are portrayed above; there are two entirely different shapes created by the same object. My understanding of shadow changed when I focused on capturing it in different lighting conditions because it forced me to think more dynamically and think about where the light would shine through and where the shadow would create a shape. Thanks for tuning in! This project really made me think and use my creativity to get what I desired with the shapes and shadows. You know, I feel like this project should have been called shapes and shadows.

April 1

Photo Series 1-Blind: Light Paintings

Hello guys! My name is Paige, and I’ll be talking about the amazing Pete Eckert and how he influenced my photographs with the light painting project.

Pete Eckert is a blind photographer that continued making photos even if he’s blind. Even if he had a condition that affected his eyes over time, retinitis pigmentosa, he still made amazing work that the world continues to see.

This was one of his light paintings, where he manipulated light and shadows to create what he wanted. I began to try blind photography myself, though with trial and error.

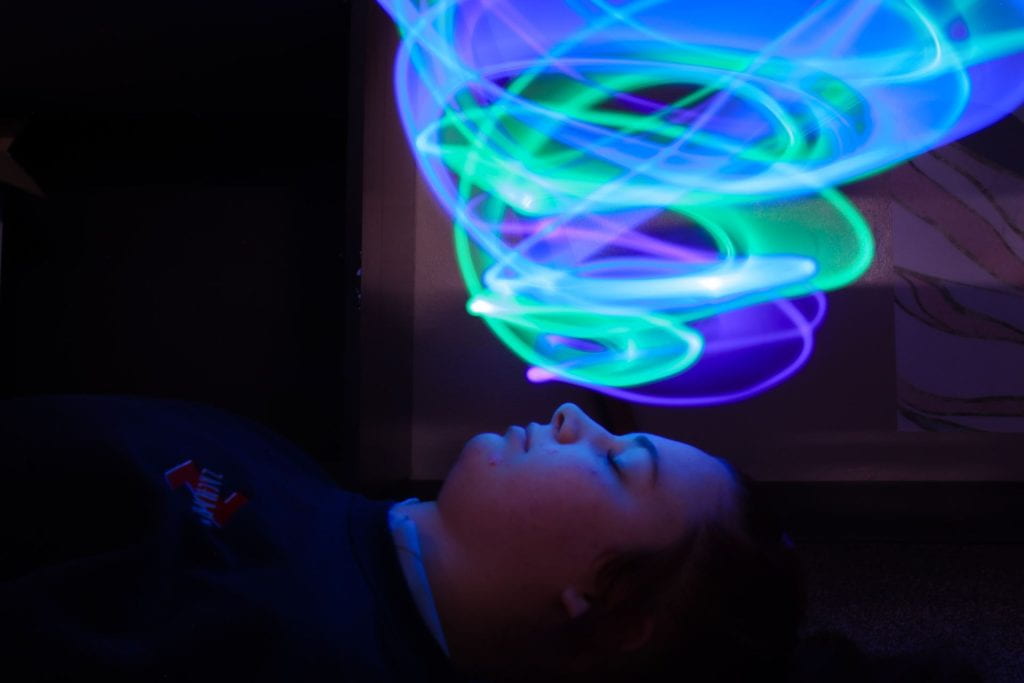
These are two photos from the light photography project. The one on the left is a heartbeat replicated with a red light, done after about ten tries. The one on the right is a swirl of colors over a classmate’s head; this took about eight or nine tries after I found the one I liked. I really had to be patient while doing this, since each photo required putting time and effort into it to get the perfect shot, and the long exposure added to that by capturing every little bit of light that flashed near the camera. I have to say, the best part of photographing was figuring out which colors would be best and what the frame of the camera was because that gave me just enough of a challenge for it to be fun. Thanks for tuning in to this colorful project! Every time I look back at these photos, I appreciate Pete Eckert’s work, and inspires me to do more of this on my own time.

February 18

Shadows and Light

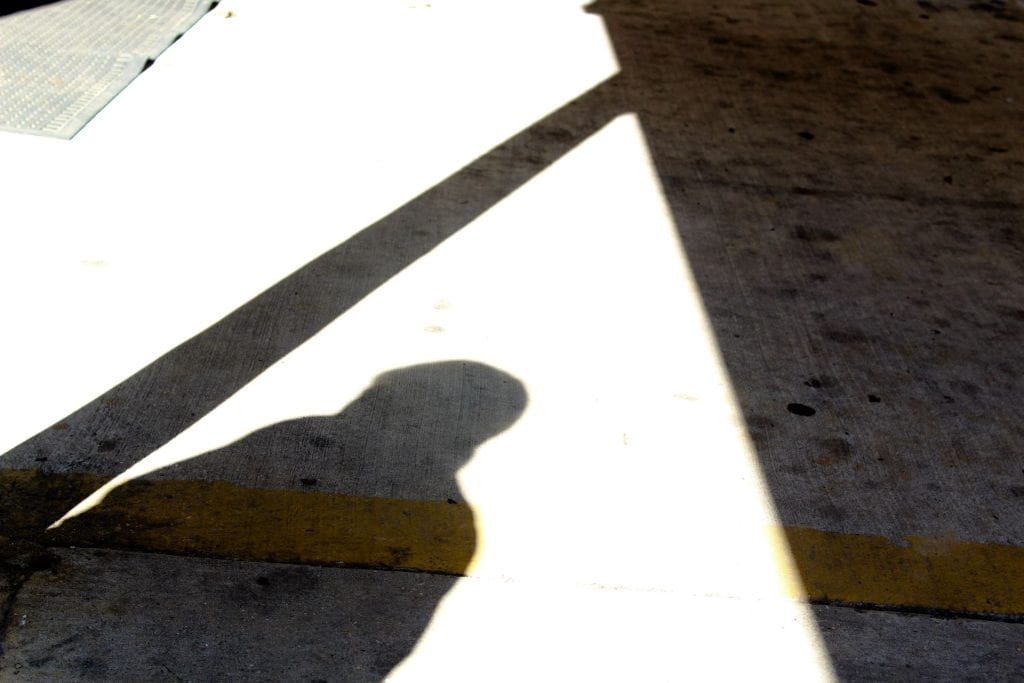
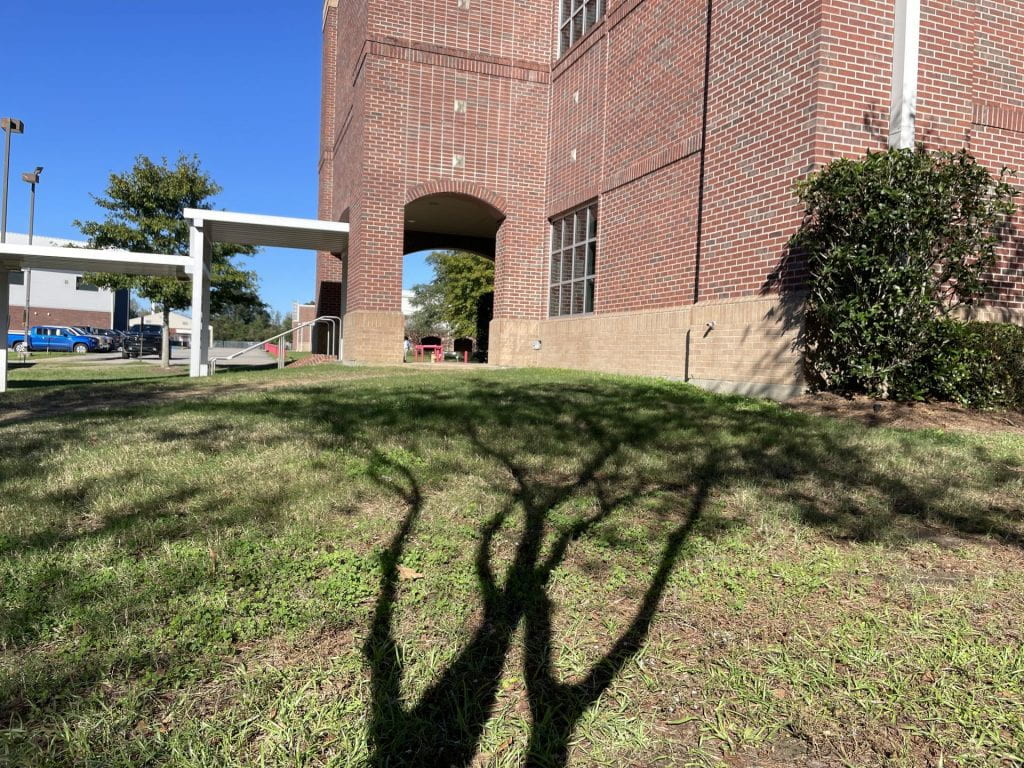
In the shadows and light project, we took two photos that show the contrast and creativity in shadows and light in photographs.

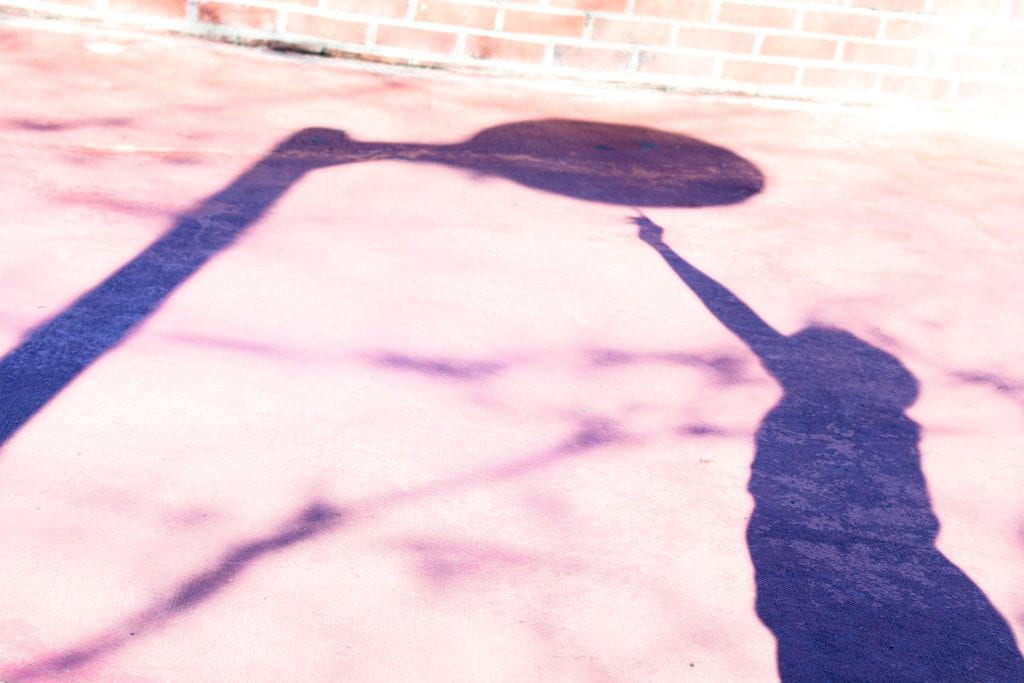
In this photograph, the F-stop was 4.5, the shutter speed was 1/100, the ISO was 100, the mode was manual, and the lens used was the Canon Zoom Lens EF-S 18-55mm. I had a certain theme I wanted to create with at least one photo, which was making me reach for something. At first I had to adjust my stance a couple times and do more than a few shots before I got this one.

In this photograph, the F-stop was 4.5, the shutter speed was 1/100, the ISO was 100, the mode was manual, and the lens used was the Canon Zoom Lens EF-S 18-55mm. The shadow and environment itself was screaming mystery/horror movie to me, and I thought it would be cool to have a shadow of a person, which is me, visible in the sort of gloomy looing atmosphere that was in the shadows nearby.

Overall, I think the photographs came out well, but I could have gotten better shots. The placement of the shadows was pretty hard to control, as I had to get in pretty tough, stiff, and even uncomfortable positions. Even if it did hurt, the silohuette in the pictures turned out how I wanted them to be. I liked the first photograph because the colors just seemed right for the pose I was doing, and how the shadow was reaching for something. I almost portrayed the pose as the person reaching for something they can barely acheive. In the second photograph, I wanted a more horror vibe as the atmosphere gave me those thoughts, so I did a still silohuette of myself as a mysterious person watching. Both of these photos were purely made from ideas on the spot as I was outside. This project activated some of my creativity, letting me think outsude of the box to get what I wanted from my photos. Although I’ve never done anything like this, I enjoyed going outside and stepping only slightly out of my comfort zone. This project also help me know my camera better and navigate exactly what I’m looking for much faster than I would’ve had at the beginning of the year.

January 30

The Close Up

What is self-expression?

Self-expression is someone’s thoughts and feelings being expressed through words, choices or actions. It can be important for people to self-express who they are to others, which makes them stand out, connect, and grow with each other. Life without self-expression would be dull, and no unique factors about anyone that makes them stand out from the crowd.

Where does the value of expression lie within your original work?

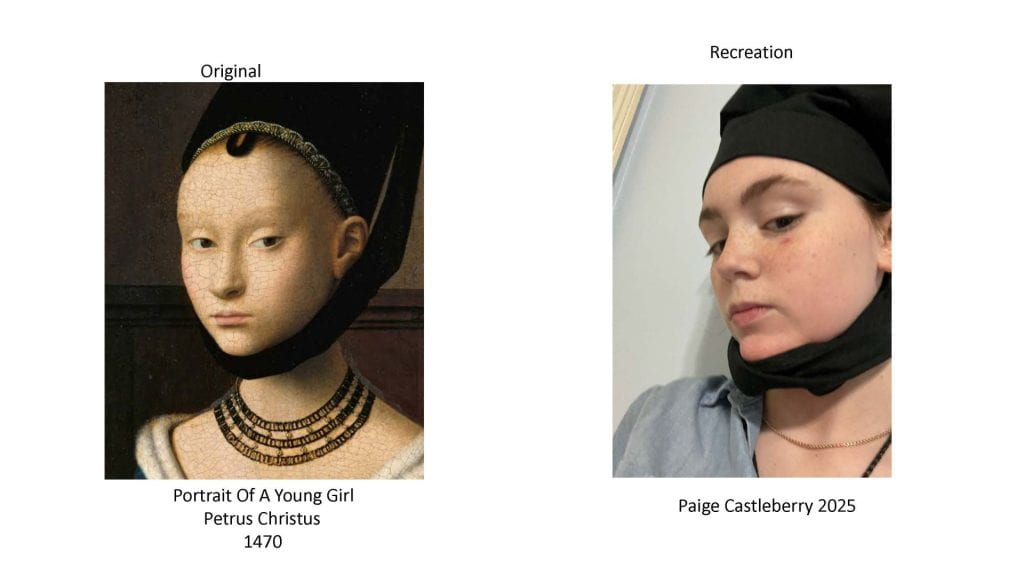
The original piece here shows a bit of judgmental personality with the face expression, and I wanted to recreate that, as it shows my judgy and less exaggerated expressions I usually do. Speaking of mundane and more calm looking expressions, Hendrik Kerstens photographed his daughter with the same face expressions, and even recreating renaissance art.

Hendrick Kersten used household items to recreate renaissance art with his daughter as the muse. During 2020, covid impacted Kerstens photography by him not allowed to go anywhere during the lockdown, so he used household objects for his portraits.

This is an example of his work. He uses his daughter as the muse and recreates renassiance portraits with household items. This was a very artistic choice, and I did something as artistic as that in my most artistic selfie.

This is considered my most artistic selfie because it required me to use props, nature, and specific angles to get this photograph. I chose that expression because I’m a curious person, and I look more into the distance because I focus on things most people don’t see or think of in a situation.

January 8

Entering A New Season: 2025

The year of 2024 was great but went by faster than expected for many people. 2024 was a year of growth for me where I grew more confident and mature with how I acted. I became better at things I wasn’t so great at the year before, like being on stage and acting in front of a big audience. My skills as a photographer grew greatly over the months being in this class as well. In 2025, I want to strive to be even better and try even harder with acting for the school and getting better grades. I want to be able to show others what I’ve photographed and be proud of every single photo, which means working harder for goals I want to achieve. A short-term goal of mine I want to achieve in one month is to come up with a better way to study and use it so I can have an easier time with tests for any class. A long-term goal that I really want to achieve by May 2025 is memorizing Japanese writing, like hiragana and katakana, and being able to recognize them without struggle. A photography style that I would like to seek after this semester is definitely macro photography. I would like to do travel photography at some point in my life, but maybe when I can actually travel. Macro photography always interested me with the close-up details you don’t or can’t see in everyday life. I think 2025 will be a fantastic year for me to start fresh and strive for a bigger goal than last year. ;]

January 8

Closing Out 2024


Throughout August through December, our class did many projects in the year that included Photoshop and pictures during labs and major projects. I enjoyed most of these projects because they let me express my creativity without many restrictions. My top 10 photographs for 2024 are listed below:

10: This photograph was the emphasis through focus in the elements of photography (EOP) lab we did. It helped me understand that certain things focused on can change the mood or meaning of a photo. This wasn’t my best photo, but it shows how new I was to photography at the time.

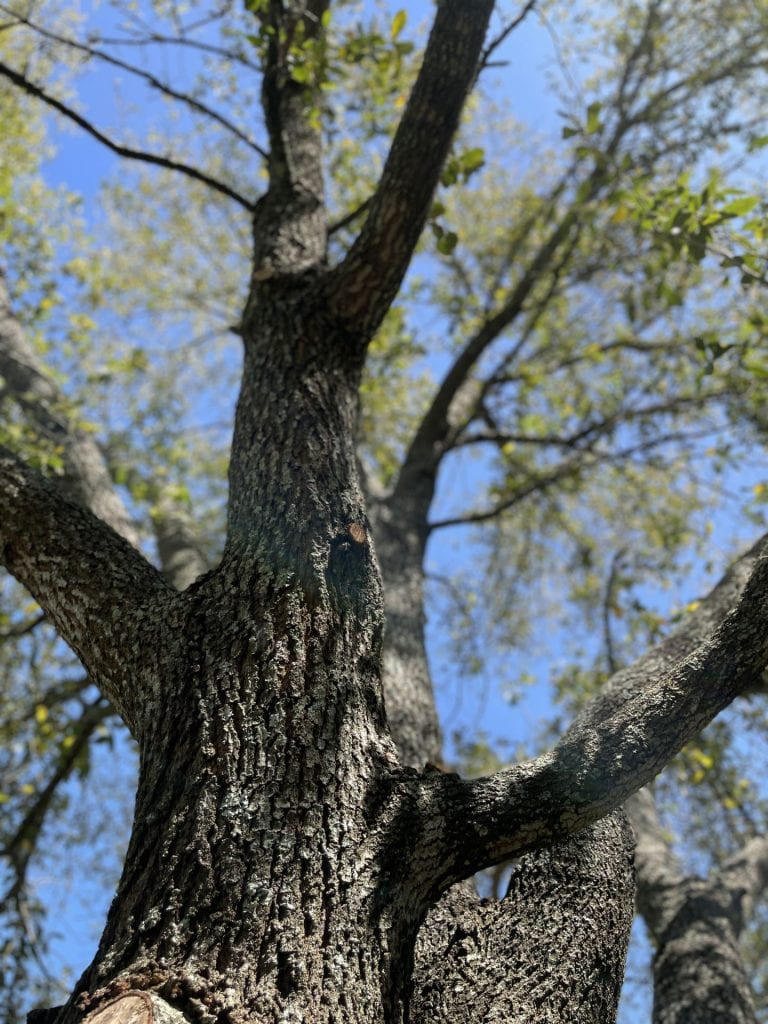
9: The ABC lab was one of the most interesting labs, as I learned to push my limits to look beyond what things really are and find letters in the shapes and shadows. I personally like the shadow of this tree and used it as a W, as it was clear enough to everyone who looked at it to assume it was a W.


#8: This was a part of the EOP lab that showed emphasis in texture. This certain photo helped me realize even the simplest photos can represent an element that we learned in class. To be honest, I just like the color and texture of the wall. Though, that doesn’t mean I would stare at this wall for more than a minute.


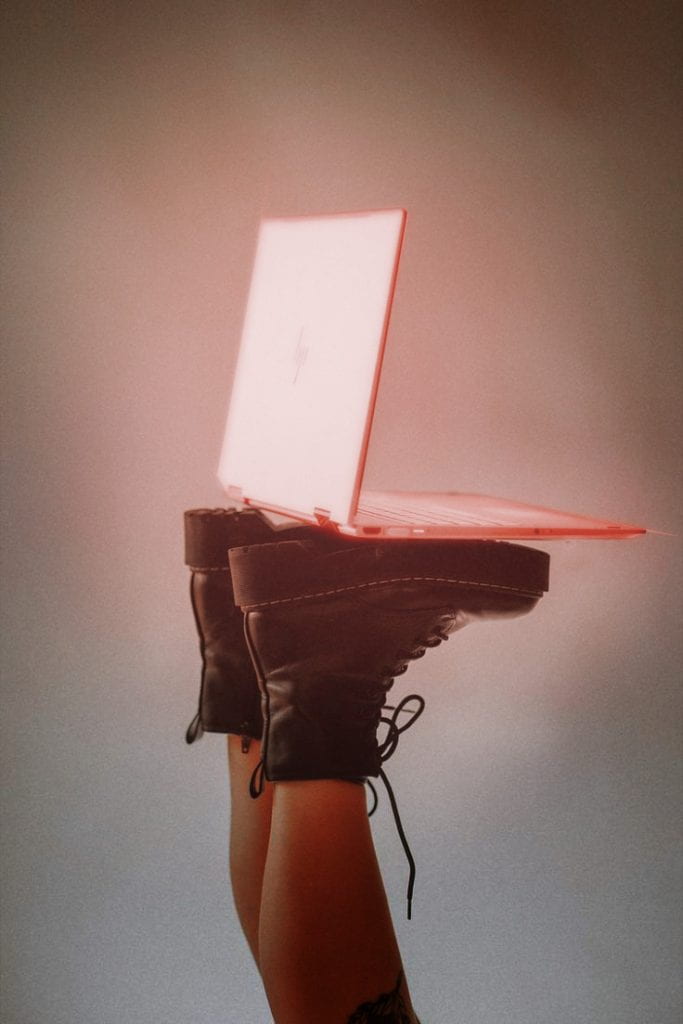
#7: The glow-in-the-dark project was certainly interesting and let me learn more Photoshop skills, like making stuff glow that I had absolutely no idea how to do before this project. I like the Doc Martens in the original photo, but I also like how I did the glow in it. As an artist, I have to know how light works around objects, so I found this very helpful.

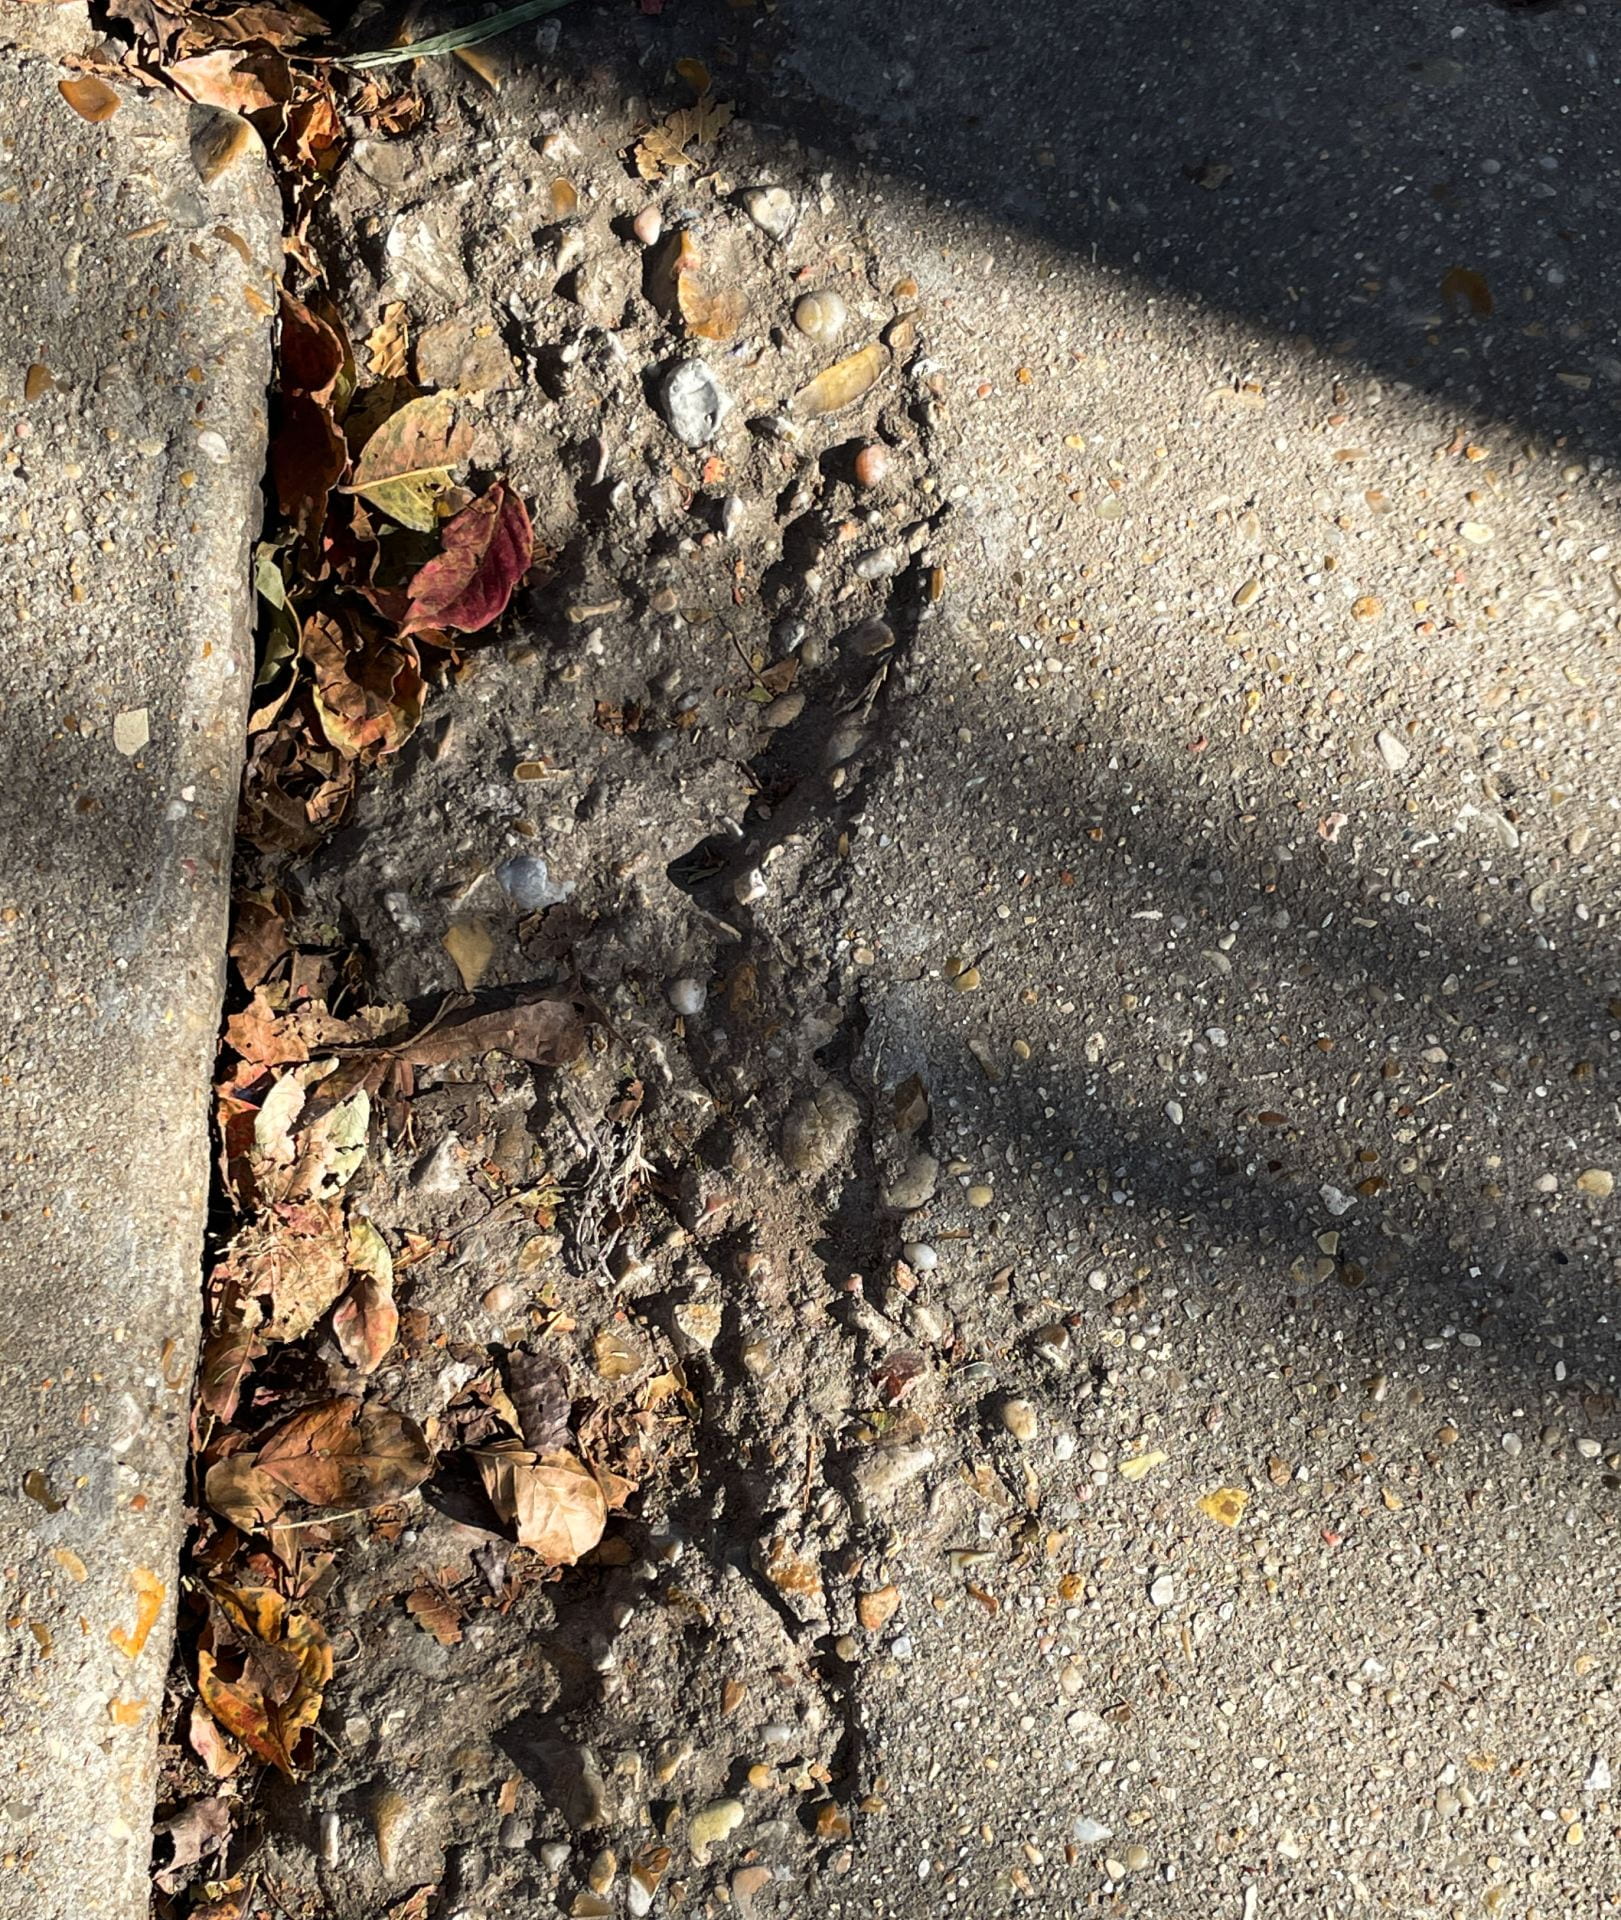
#6: This was another one from the ABC lab that I particularly liked. The crack in the concrete was perfect for the B shape. This helped me learn that I could use already formed shapes in my photographs, and sometimes it will come out well without much editing.

This image has an empty alt attribute; its file name is 13c6f298-2fb2-4aa3-b9da-ee4443c86a24-1024x683.jpg


#5: The Portrait Project was one of my favorites, and this one took the most amount of time in that project. I learned many new Photoshop skills for this one and even implemented ones I learned earlier in the year. I added the glow with a pretty time-consuming process, and during shooting, I actually got bit by a fire ant, and I still have the bite on my hand to this day.

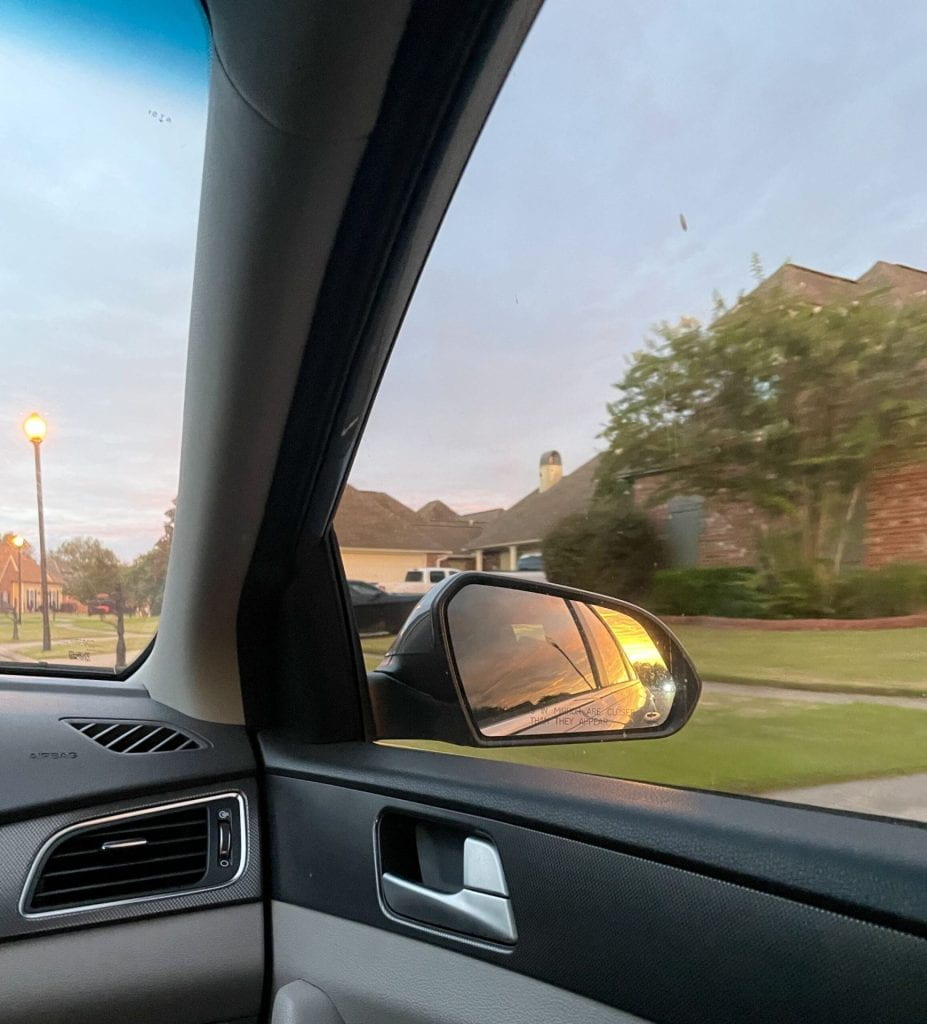
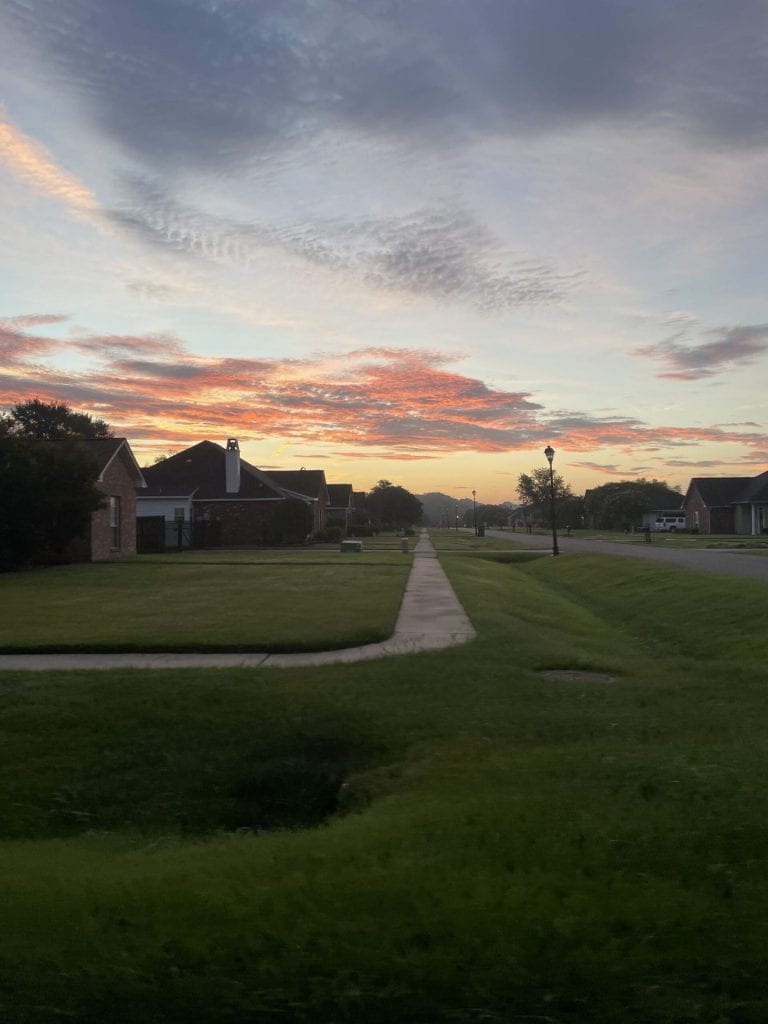
#4: This was for the EOP lab, which was my favorite photo out of the whole lab at the time, and it still is. This was the emphasis through framing, where I learned to take photos on the spot quickly for me to catch this sunrise in the mirror of the car just in time.


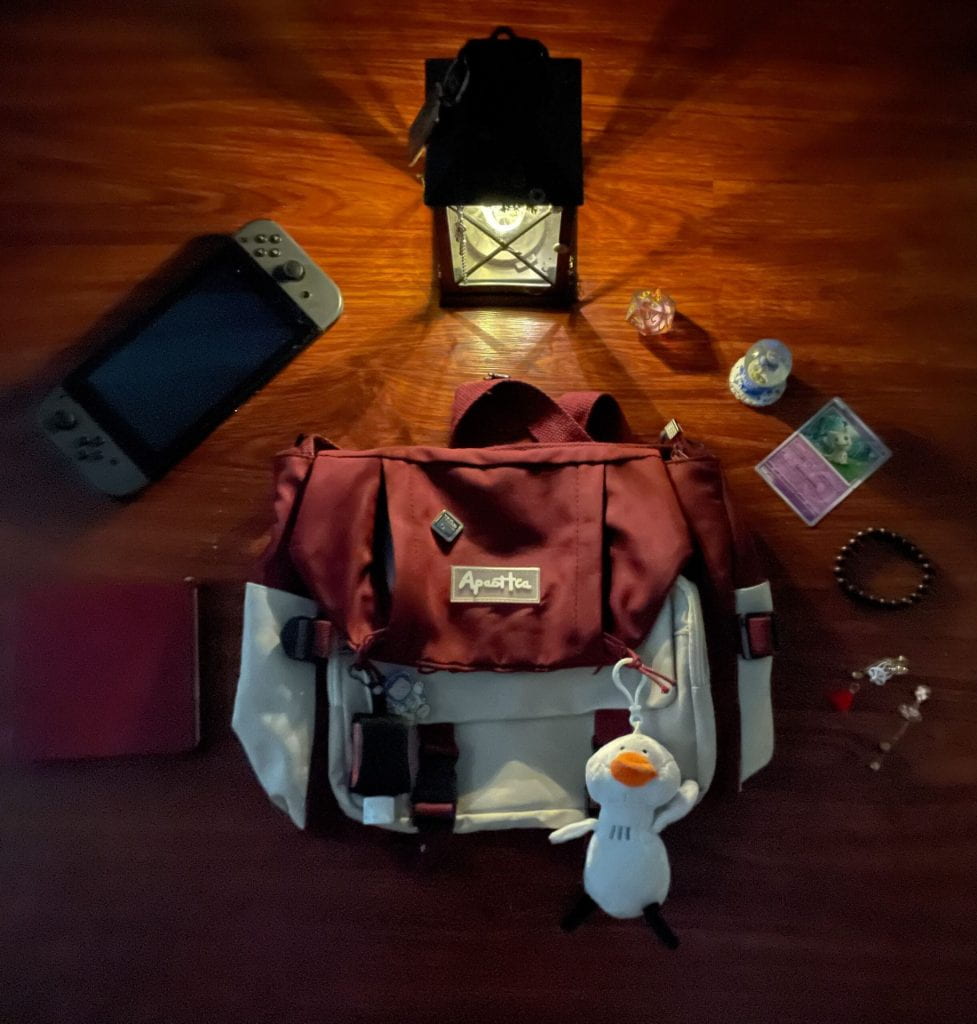
#3: For this one, during the portrait project, I framed a couple of my favorite things that represent me as a person. I learned to mess with the lighting and use objects around me for technical uses while they still look good in the photograph.


#2: This photo was also taken quickly for the EOP lab for emphasis of through-color contrast. I loved the contrast between the light and dark colors and the contrast in the color in the sunrise as well. I used my knowledge of learning about color theory and contrasts in class to help me use this photo as a final in the lab.

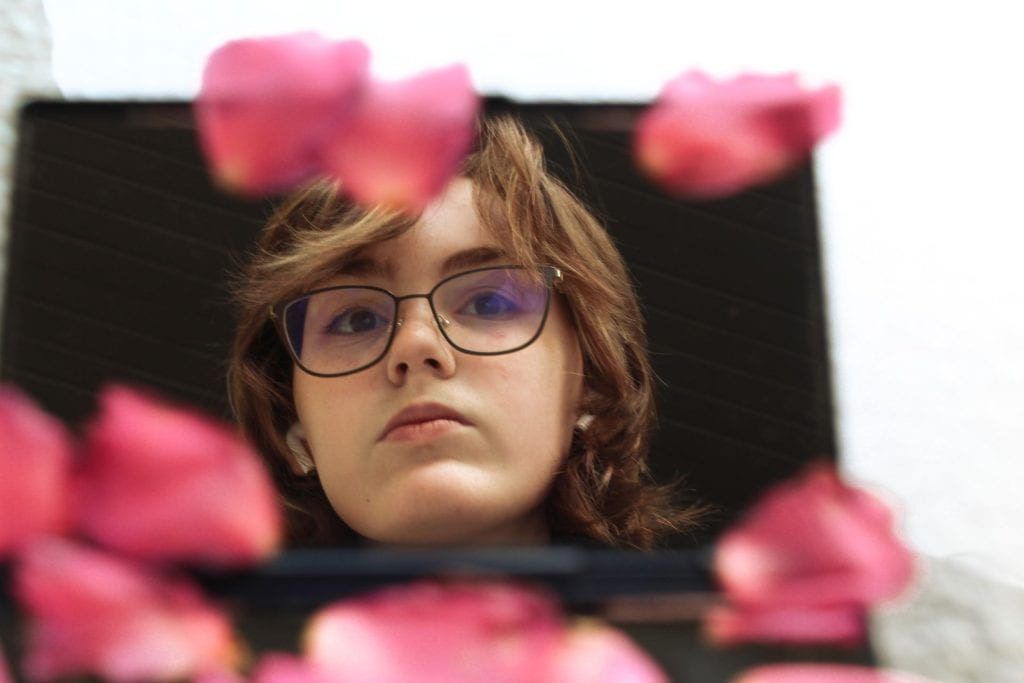
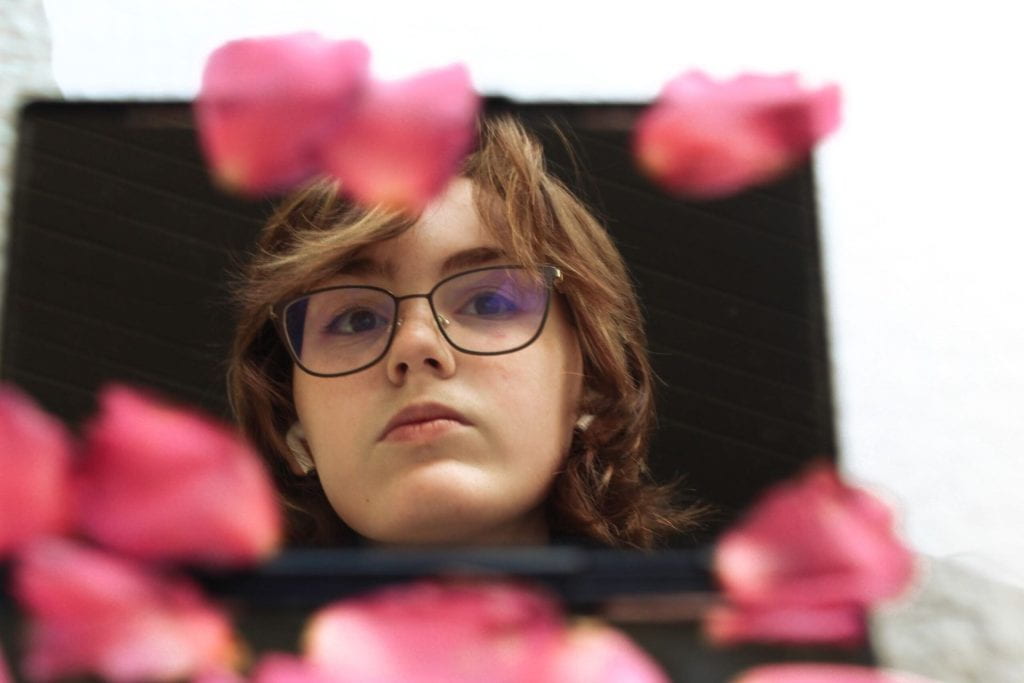
1: Finally, I know I absolutely despise the color pink, but pink petals are just different; don’t ask me why. I had grabbed a small mirror from my house and picked up more than enough petals to throw and place on the mirror for this photo for the portrait project. I also had to stand in such a ridiculous way to get the camera out of frame. In the process of this whole photo, I learned to take multiple shots and use others opinions to help me choose which one came out better in the end.

September 23

Learning File Formats

File formats are different ways of structuring the image’s data so it can be easily stored, viewed, transferred, edited, and copied across devices. Different files have different benefits and drawbacks to them. There are a total of 9 file formats avaliable for usage. Those file formats are listed below, with information about each.

JPEG: “Joint Photographic Experts Group”. It”s probably the most well known out of all of the image file formats. JPEG is usually cameras default ouput and are compressed immediately, so they aren’t always detailed as well as other files. However, a benefit is JPEGs being much smaller than other image file formats so its much easier to store many of them. They can be displayed on many browers and operating systems, like email, messages, and social media.

HEIF: “High Efficiency Image Format” is the newest file type listed, which was designed in 2015 and implemented by Apple to store iPhone photos. HEIFs are much less universal than JPEGs, but still have benefits like being smaller than JPEGs, and being relatively high-quality file storage. Though, one drawback is the limited compatibility it has.

TIFF: “Tagged Image File Format” is a commonly used file type in the photography industry. Benefits are being able to make extensive adjustments in editing software, and printing at the highest quality at much larger sizes. Drawbacks are much bigger file sizes, and longer transfer and loading time due to file size.

RAW: Most camera’s allow the option to shoot in RAW, even smartphones. Adjustments to things like white balance, exposure, contrast, saturation, and sharpness can be easily changed. Benefits are outstanding image quality, and extensive post-processing options. Drawbacks are significant time being needed to convert and edit photos, and bigger file sizes requiring more storage and longer processing times.

DNG: DNGs, or digital negative, was created by Adobe to try to provide a standard RAW file that can be used by all manufacturers and cameras. Benefits are being able to be accessed by image-processing software such as Lightroom and Photoshop, and being possibly the safer long-term option because it guards against future incompatibilities. A drawback of DNG is if your camera cannot create DNGs automatically, it takes extra time to convert camera RAW files to DNGs.

PNG: As an improvement on the GIF file format created in the 90s, PNG files are small, high quality and displayable on browsers. PNGs do not require as much space, which makes it better to load images on the internet. Benefits are losing less compression, which offers good image quality without being compromised when editing, and PNGs can maintain transparency, which is important for graphics such as overlays and logos. A drawback of PNGs is the file size being larger than JPEGs.

GIF: GIFs are mostly used on the internet and are pretty small, though no quality is lost. GIFs allows for animation, but also only contains 256 colors, which doesn’t make it a great choice for photos. Benefits are small file sizing for ideal web use and files being able to contain animations. Drawbacks are limited colors and not supporting partial transparency like drop shadows.

BMP: BMPs were invented by Microsoft for usage on Windows platforms, but are also recognized by Mac programs. Benefits are being able to be used for printing and having high quality images. A drawback is larger file sizes requiring a lot of storage.

PSD: PSDs are used by Adobe Photoshop to save data and also allow you to store edits using individual layers instead of on the image itself. PSDs are flexible by easily being able to add, remove, and edit layers at any time without affecting the original photo. Benefits are being able to manipulate images on seperate layers and the image can be resaved as any other file format after editing. A drawback is the layered files being incredibly large due to all of the additional data being stored.

September 19

Remembering The Impact

On September 11th, 2001, the World Trade Center was hit by two planes in New York City. The impact of what happened that day was devestating to the United States as a whole. The terrorist attack on that day still affects people currently with a day of rememberance on September 11th.

This photograph taken on that day by Mario Tama shows people stopping in the street to watch the devastating collapse of the buildings. This attack on our country may not have affected me as much, but the meaning of this picture carries the image of what it looked like if you were there seeing this happen. Many people who didn’t see it happen look at the photographs and see the shock and despair on people’s faces in some photographs to represent how tragic it really was at the time it happened. 9/11 is always going to be a day to remember in our country, as well as remembering those who have died during it. The memorial in New York City, where the buildings used to stand, has many names of the people who have helped out or died in that event. I went to go see the memorial when I went to New York City, and it’s an emotional site for anyone who experienced what happened. Documentary photography plays a great role in knowing what happened during these events and what happened in the photographs. Documentary photography is photographs that capture certain events in history.

This photograph is the memorial of the buildings that once stood there in New York City, New York, taken by Robert Deutsch. This memorial and the museum right next to it are a way to remember this tragic event, mourn those who were lost, and honor those who sacrificed their own lives to save others.